Built project: stage lyrics prompter/confidence monitor


Hey all,

I asked here about lyrics prompters for stage use, but couldn’t find any elegant solution available in Germany that would fit my setup nicely (especially including a nice data transfer solution to get the lyrics from ableset computer to the screen).

Therefore I decided to put together a custom solution myself – and it turned out pretty nicely! Since I’ve learned so much from this forum, figured I’d share the project.

Here’s the final result:

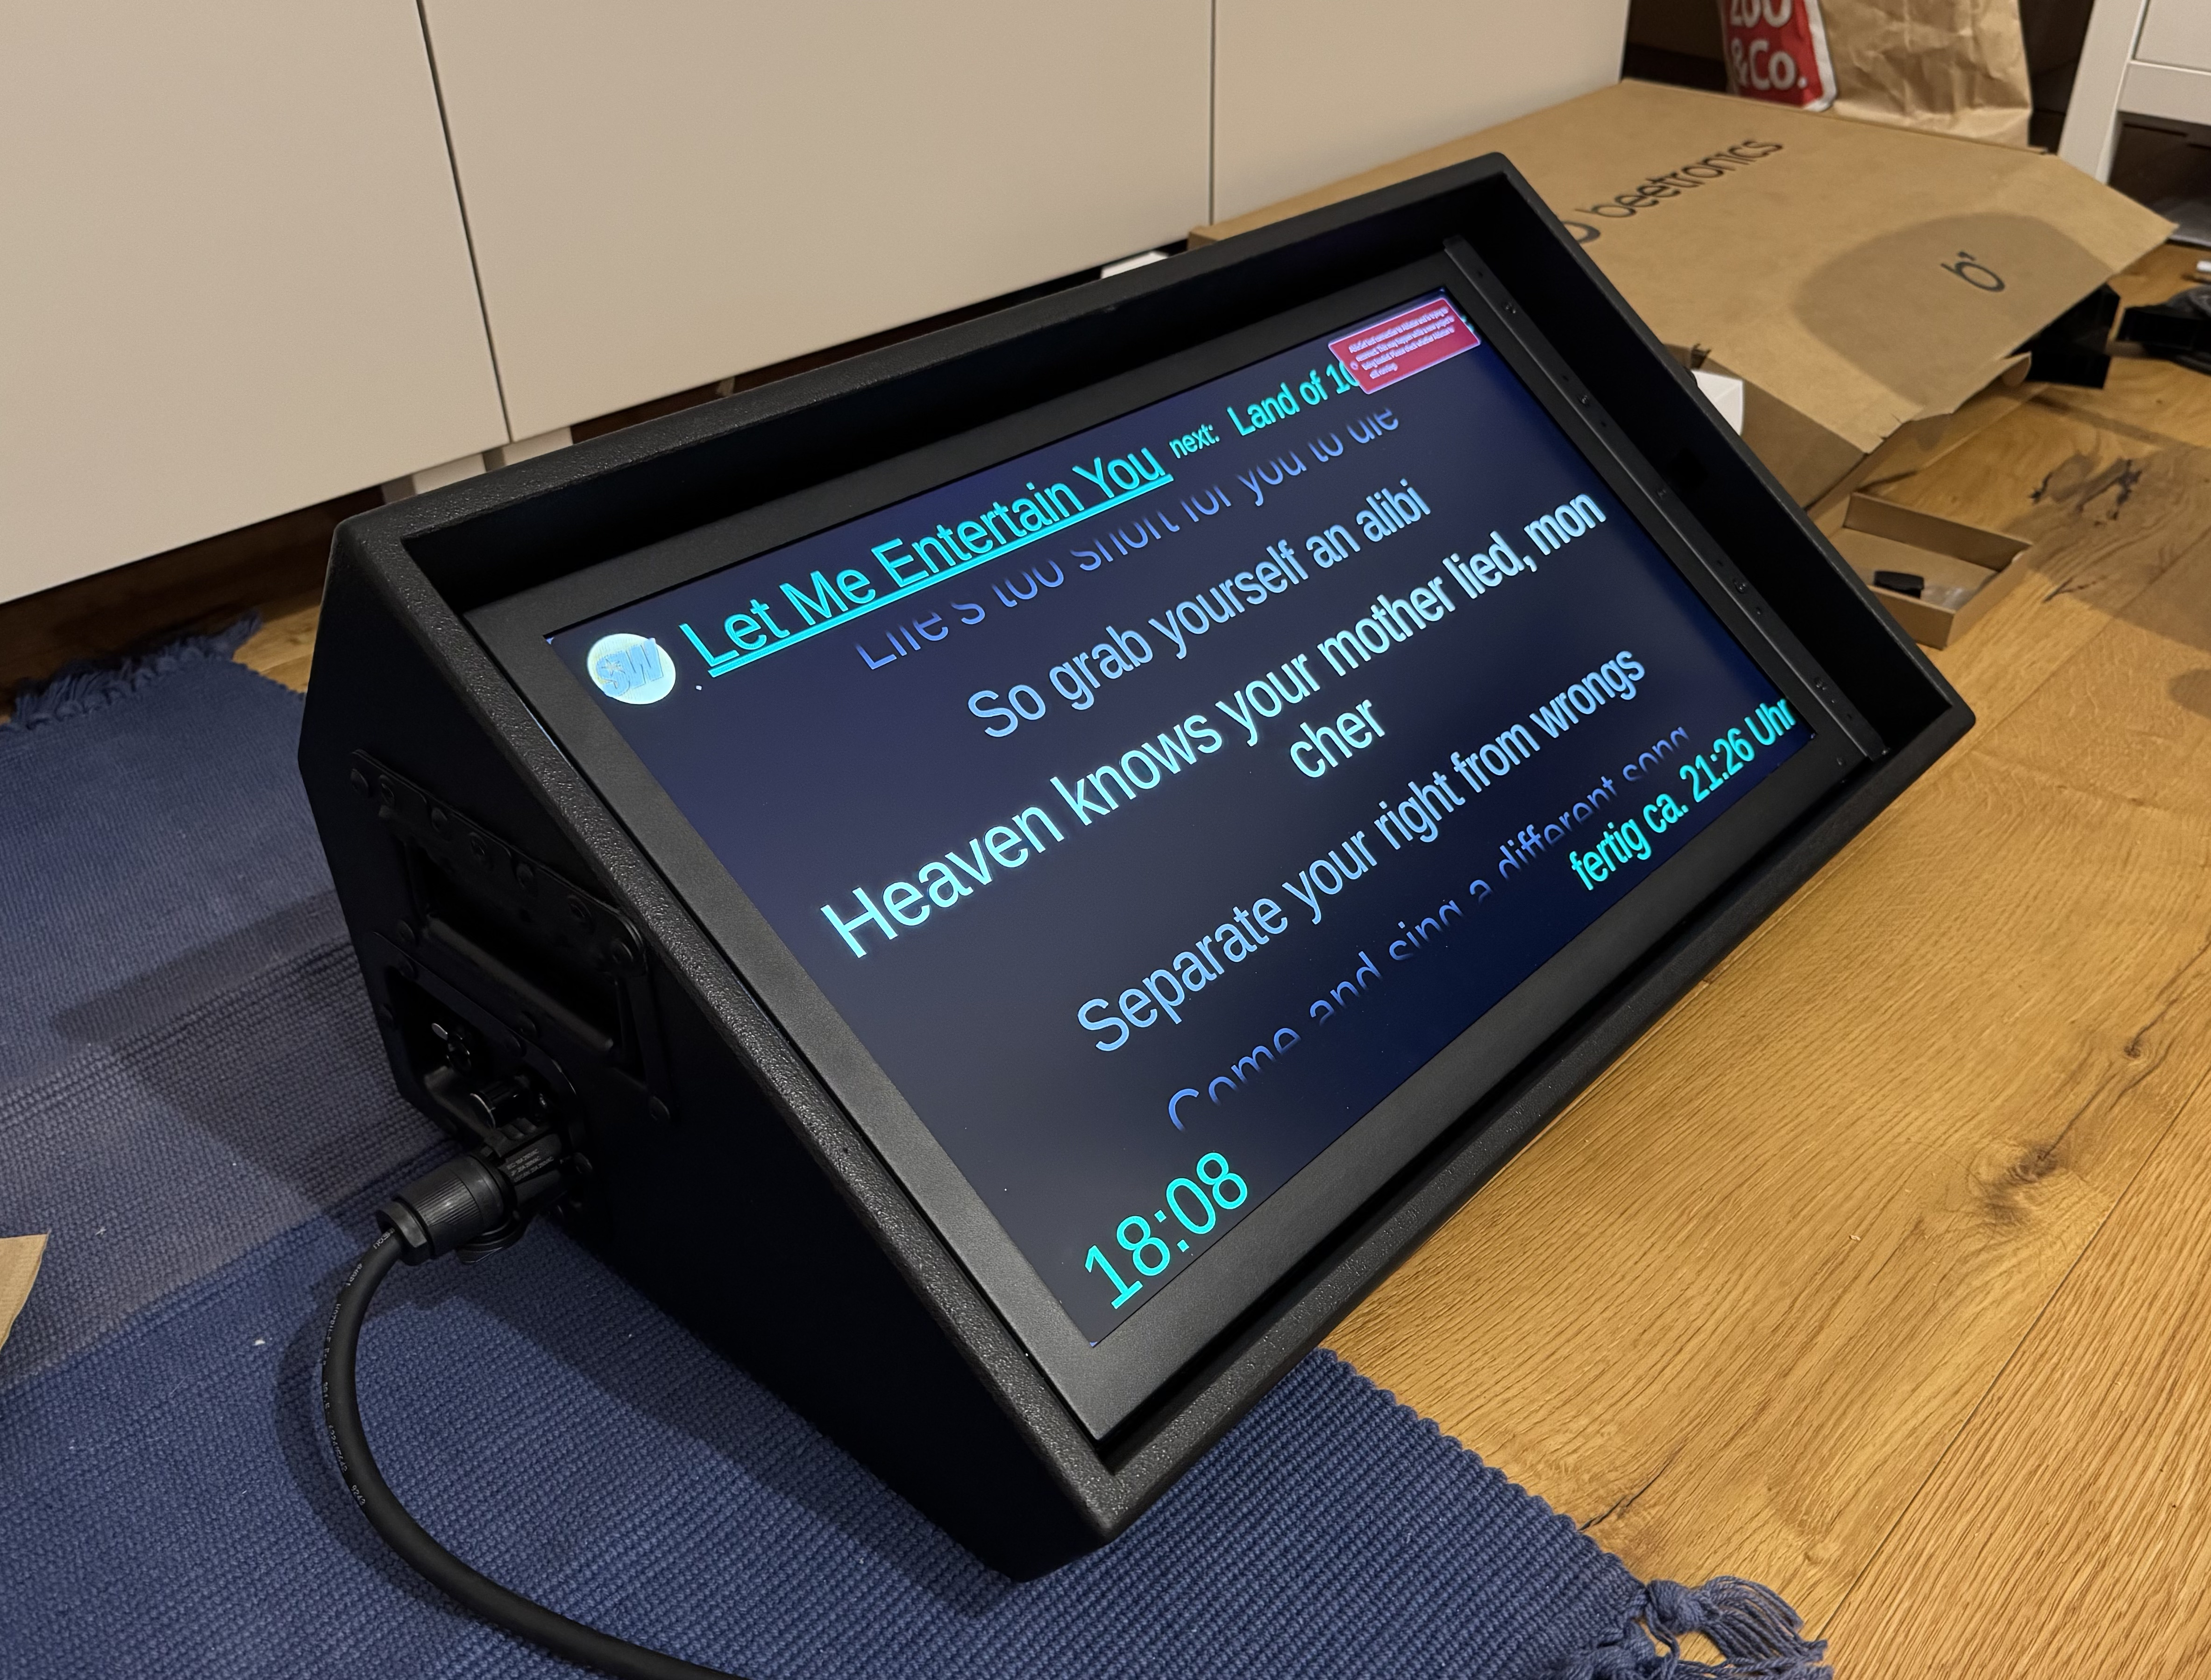
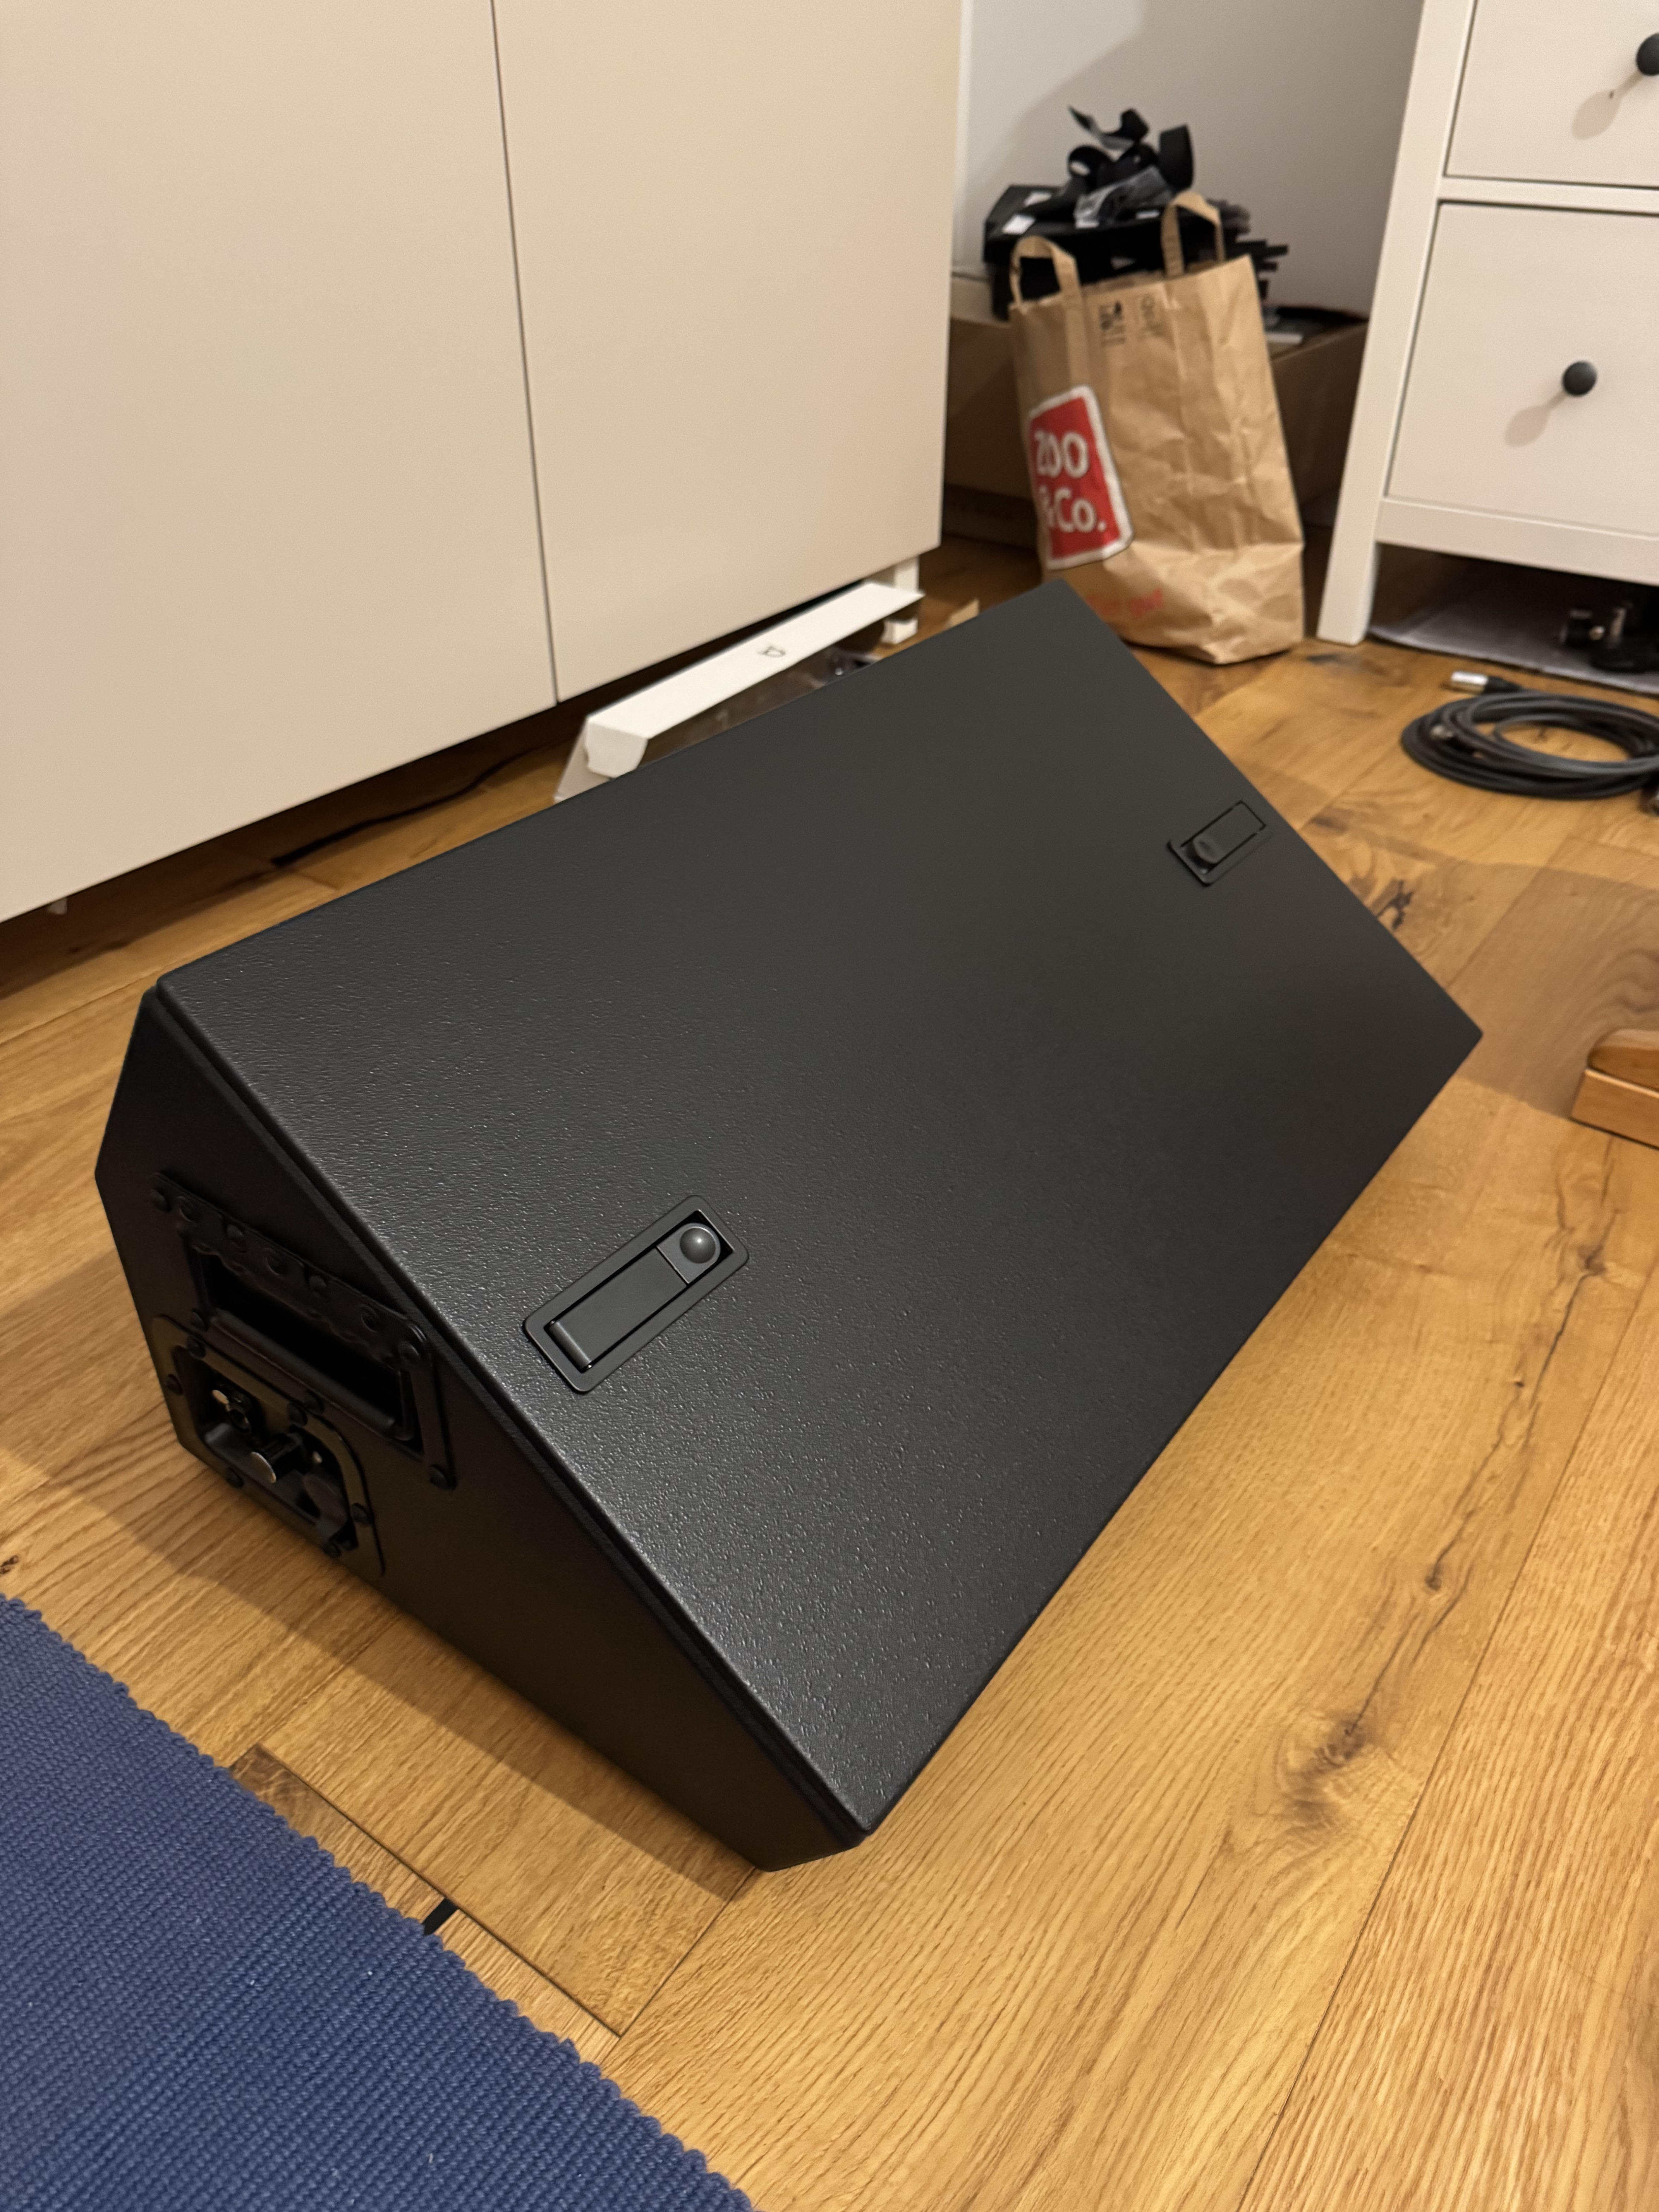
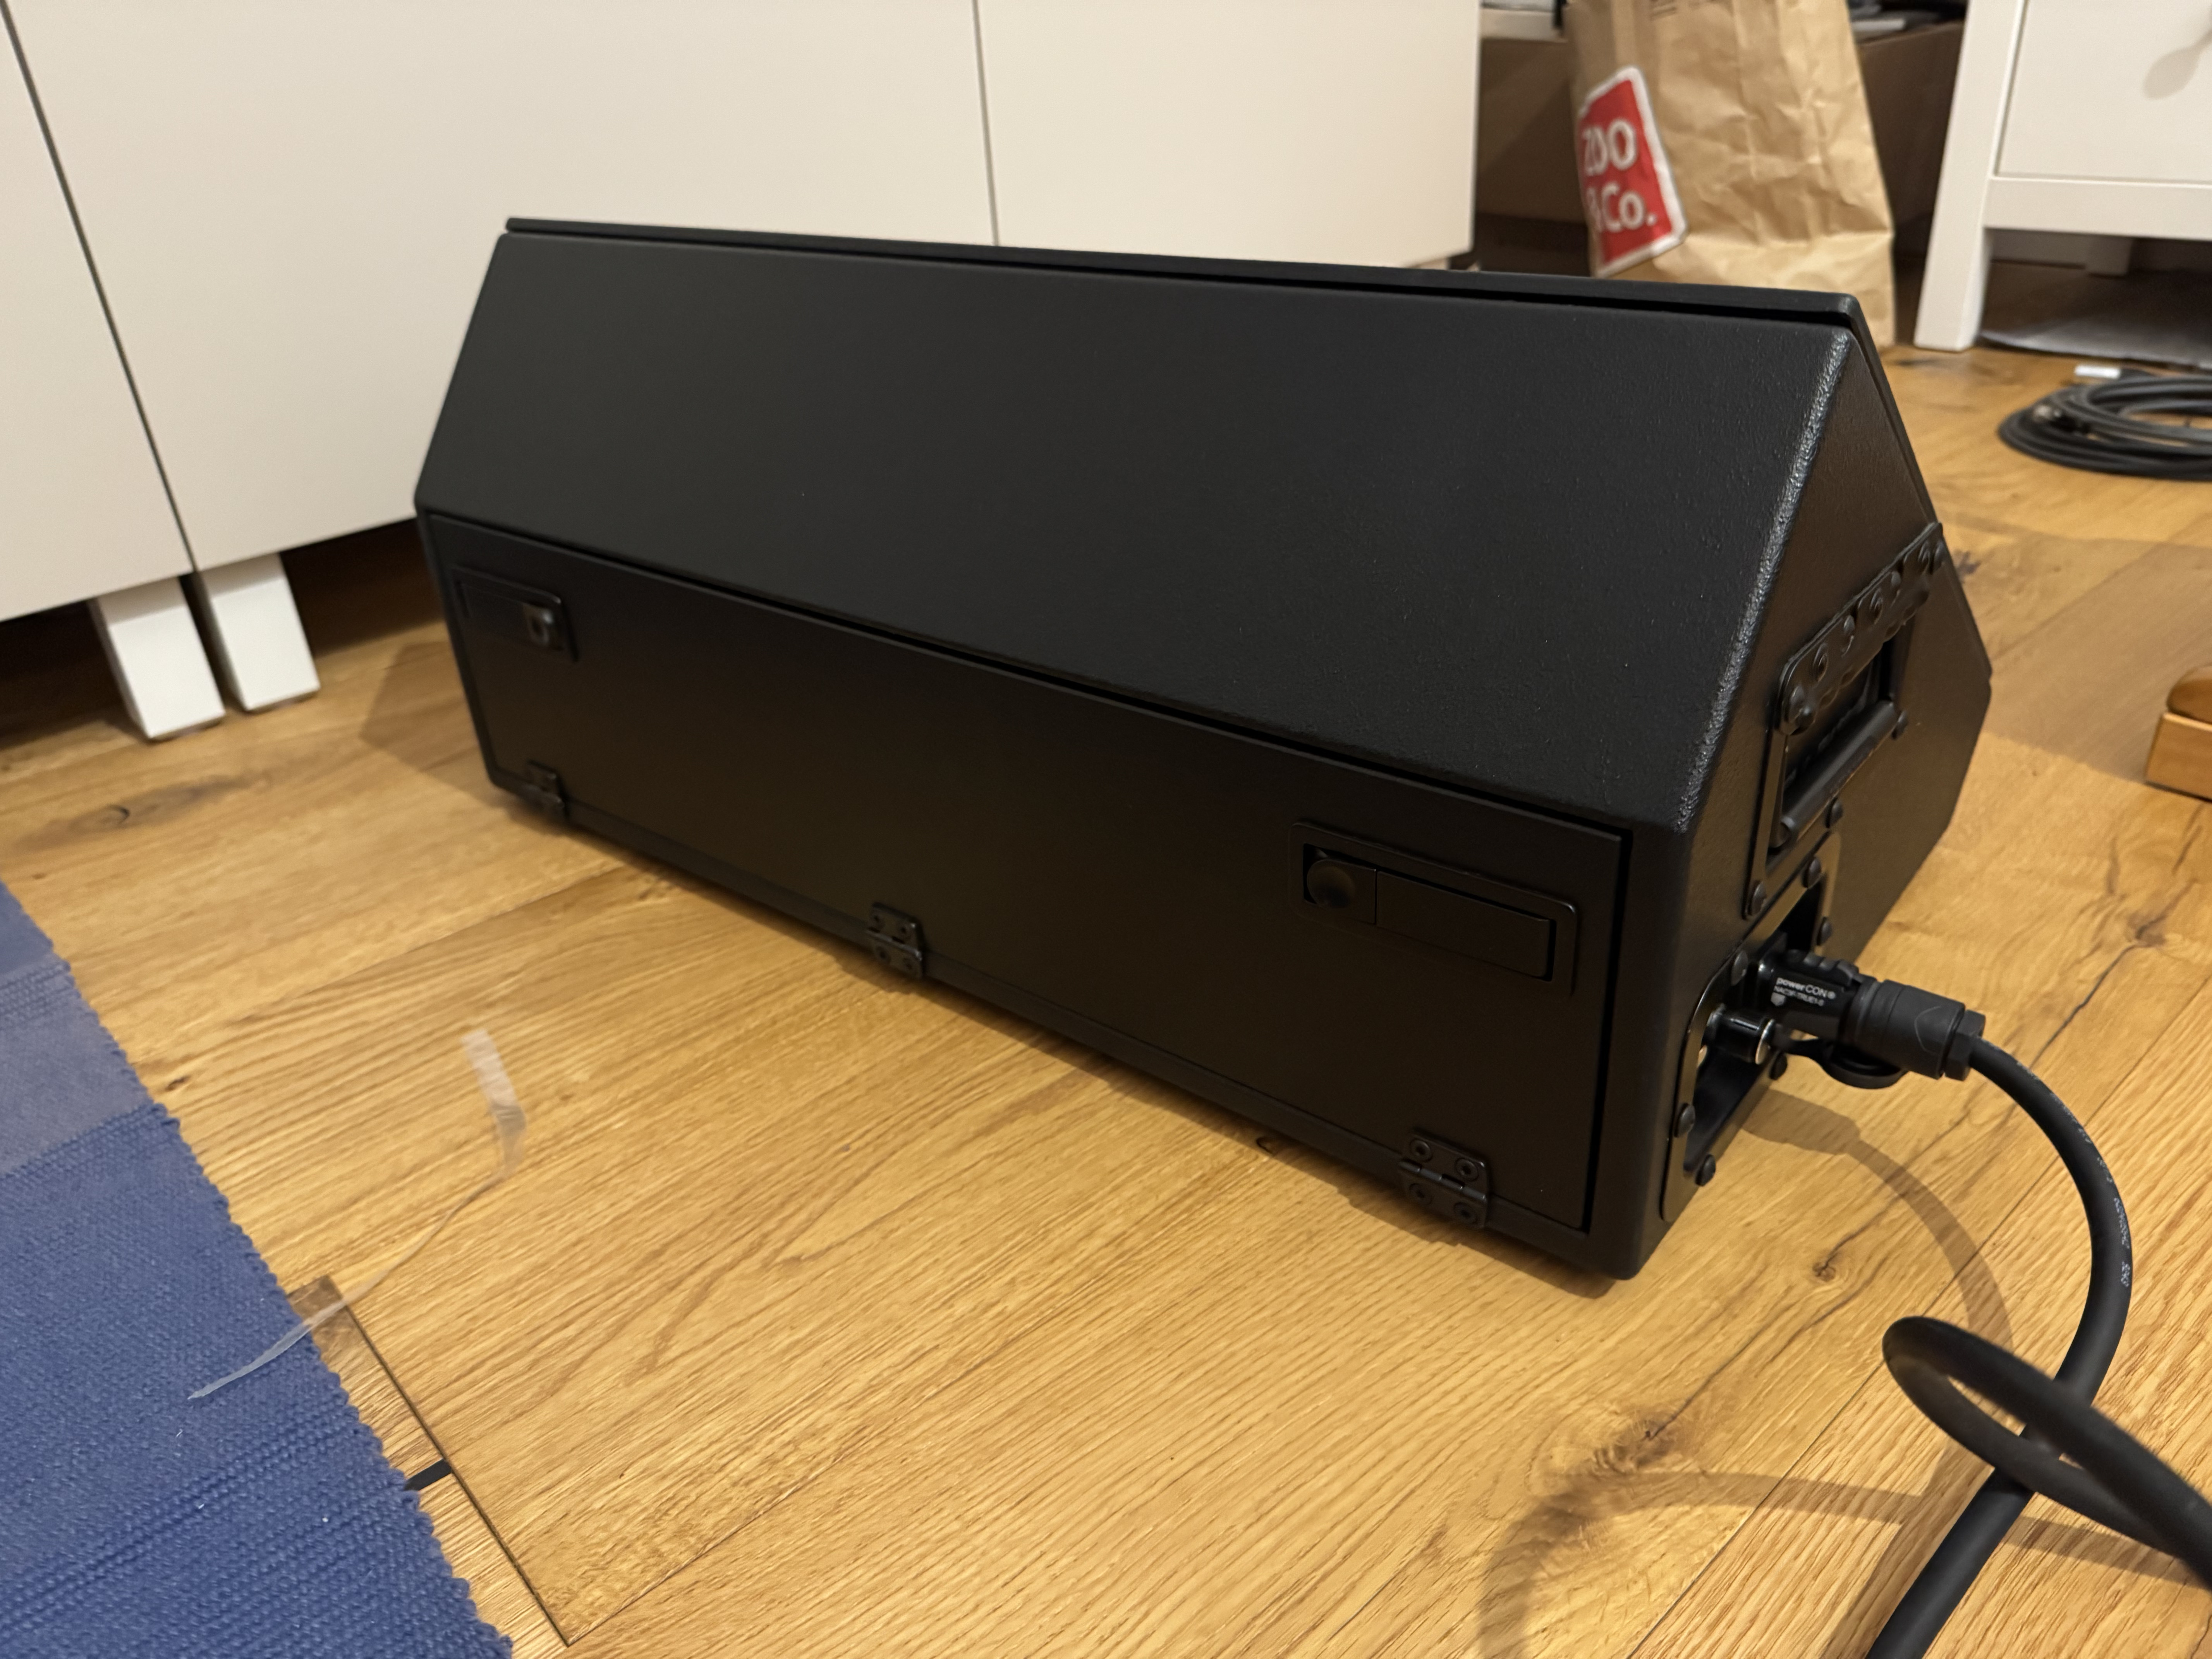
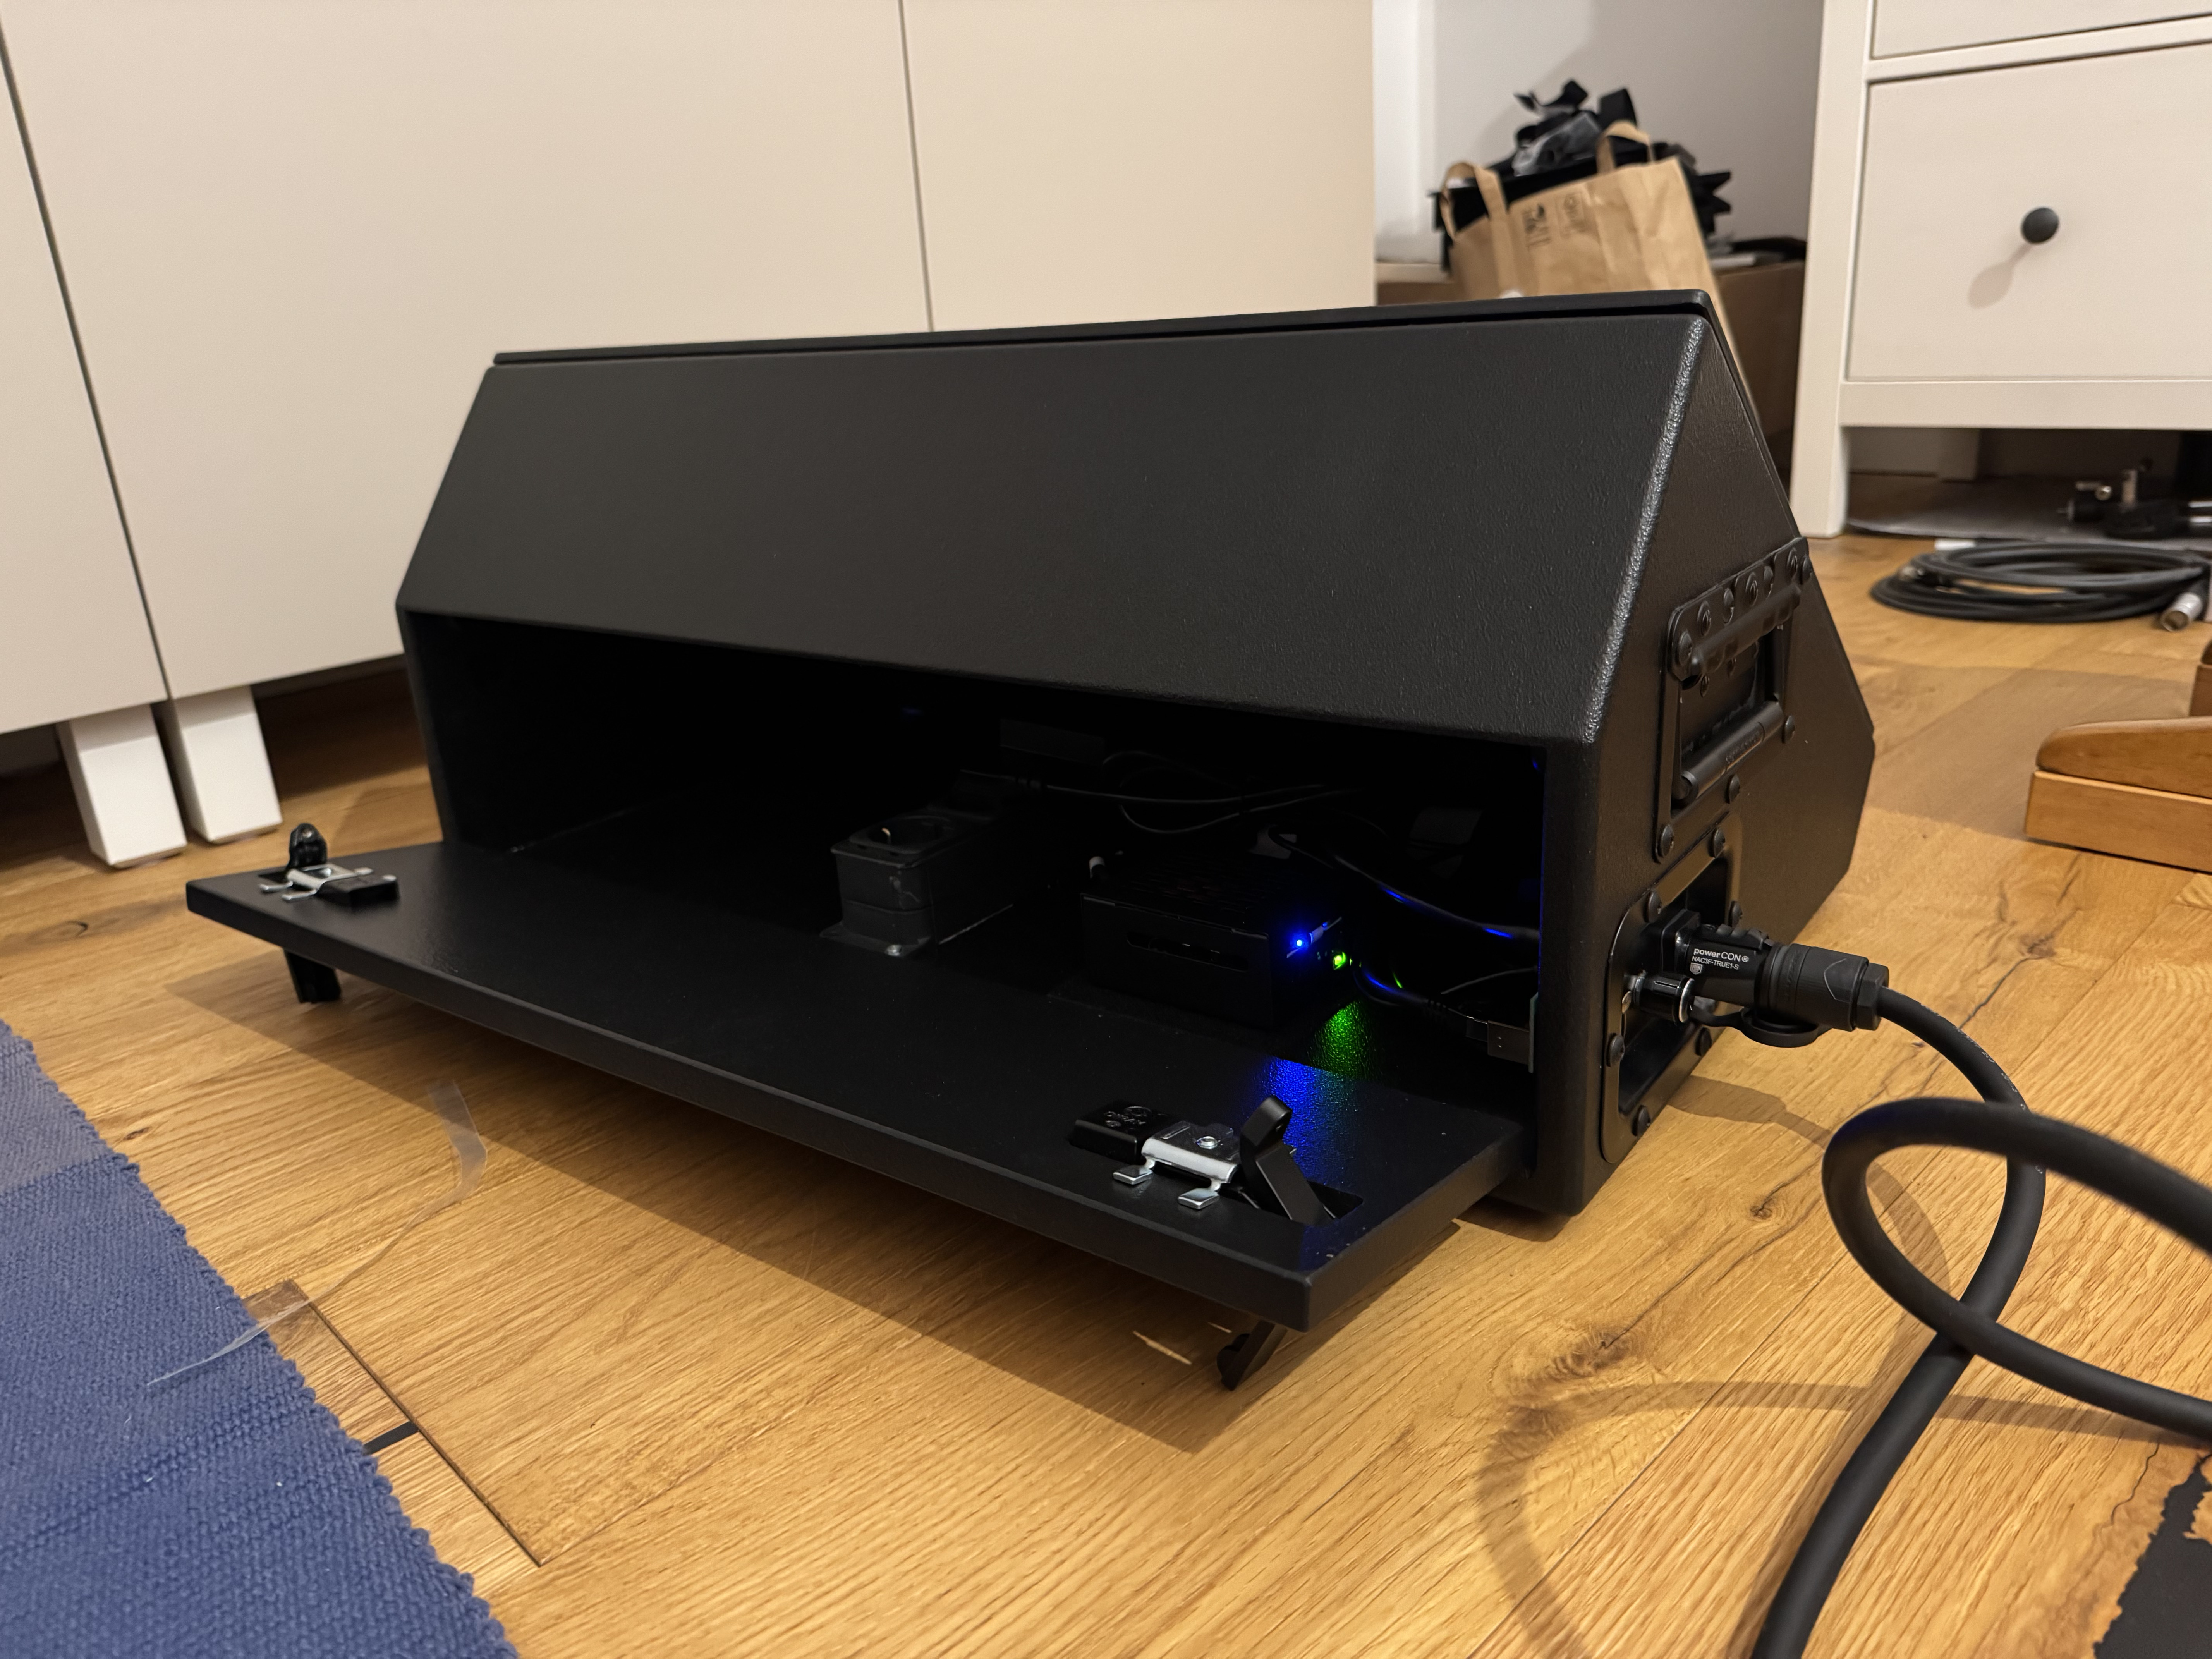
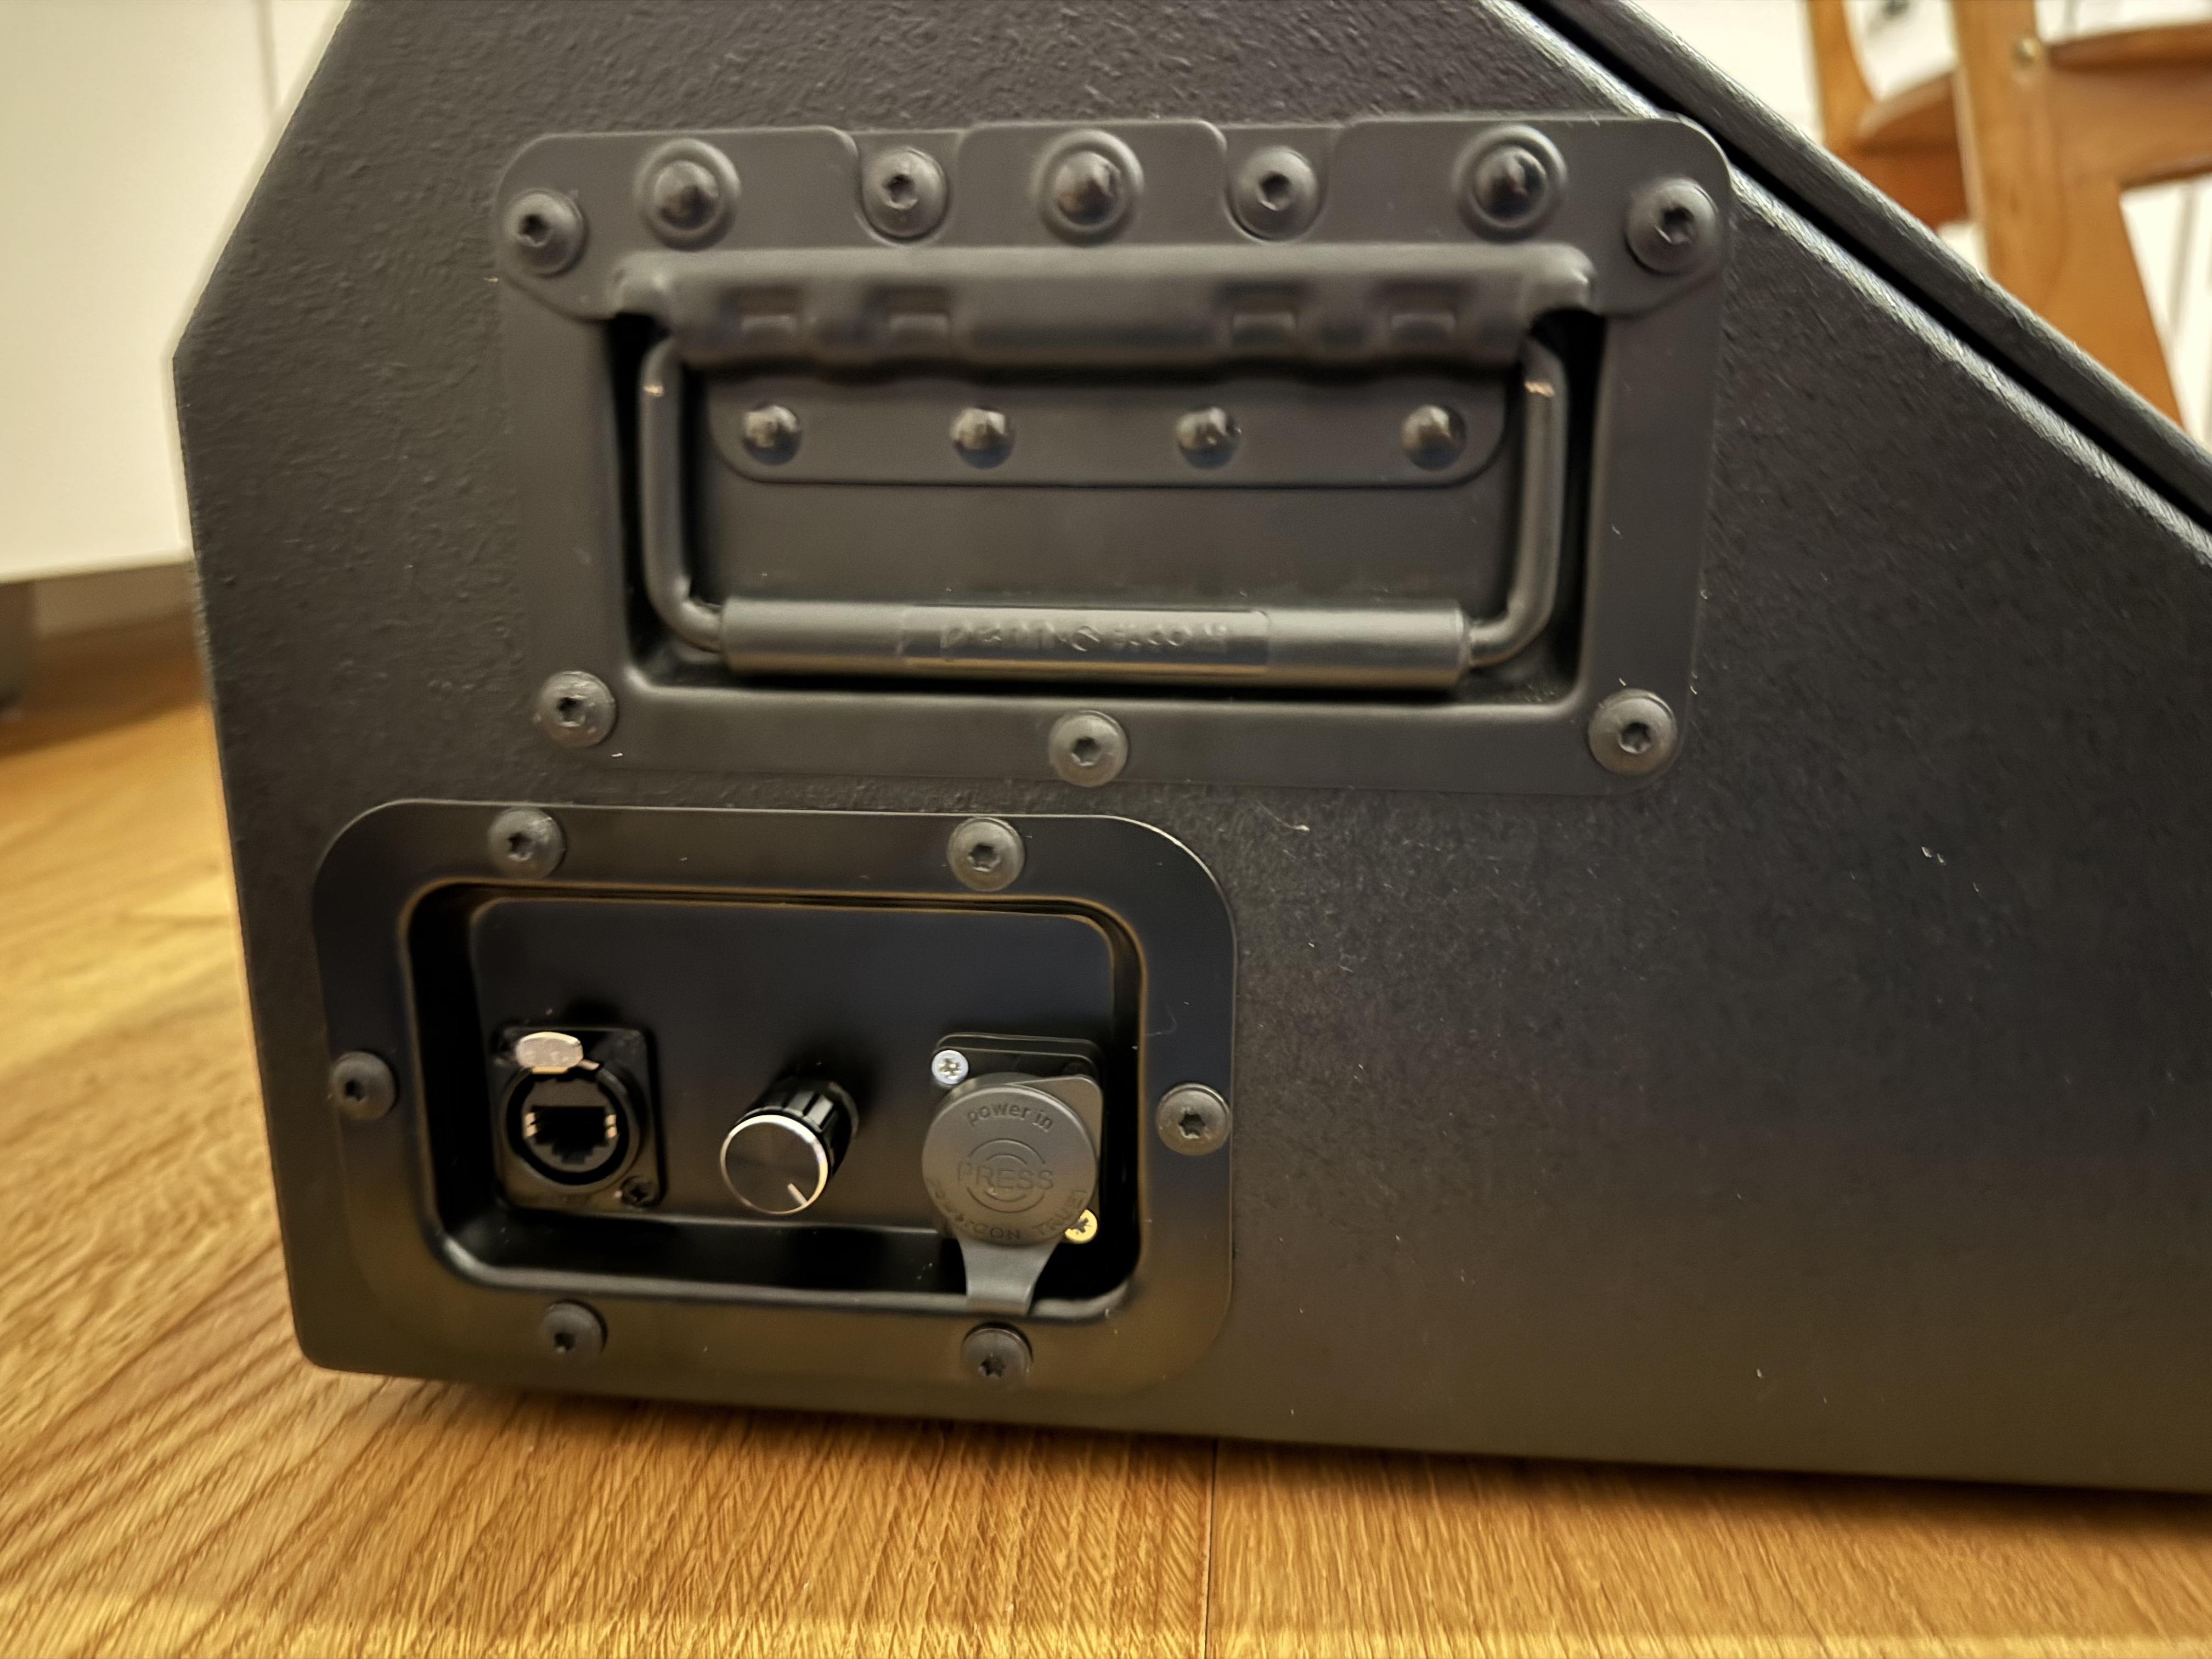
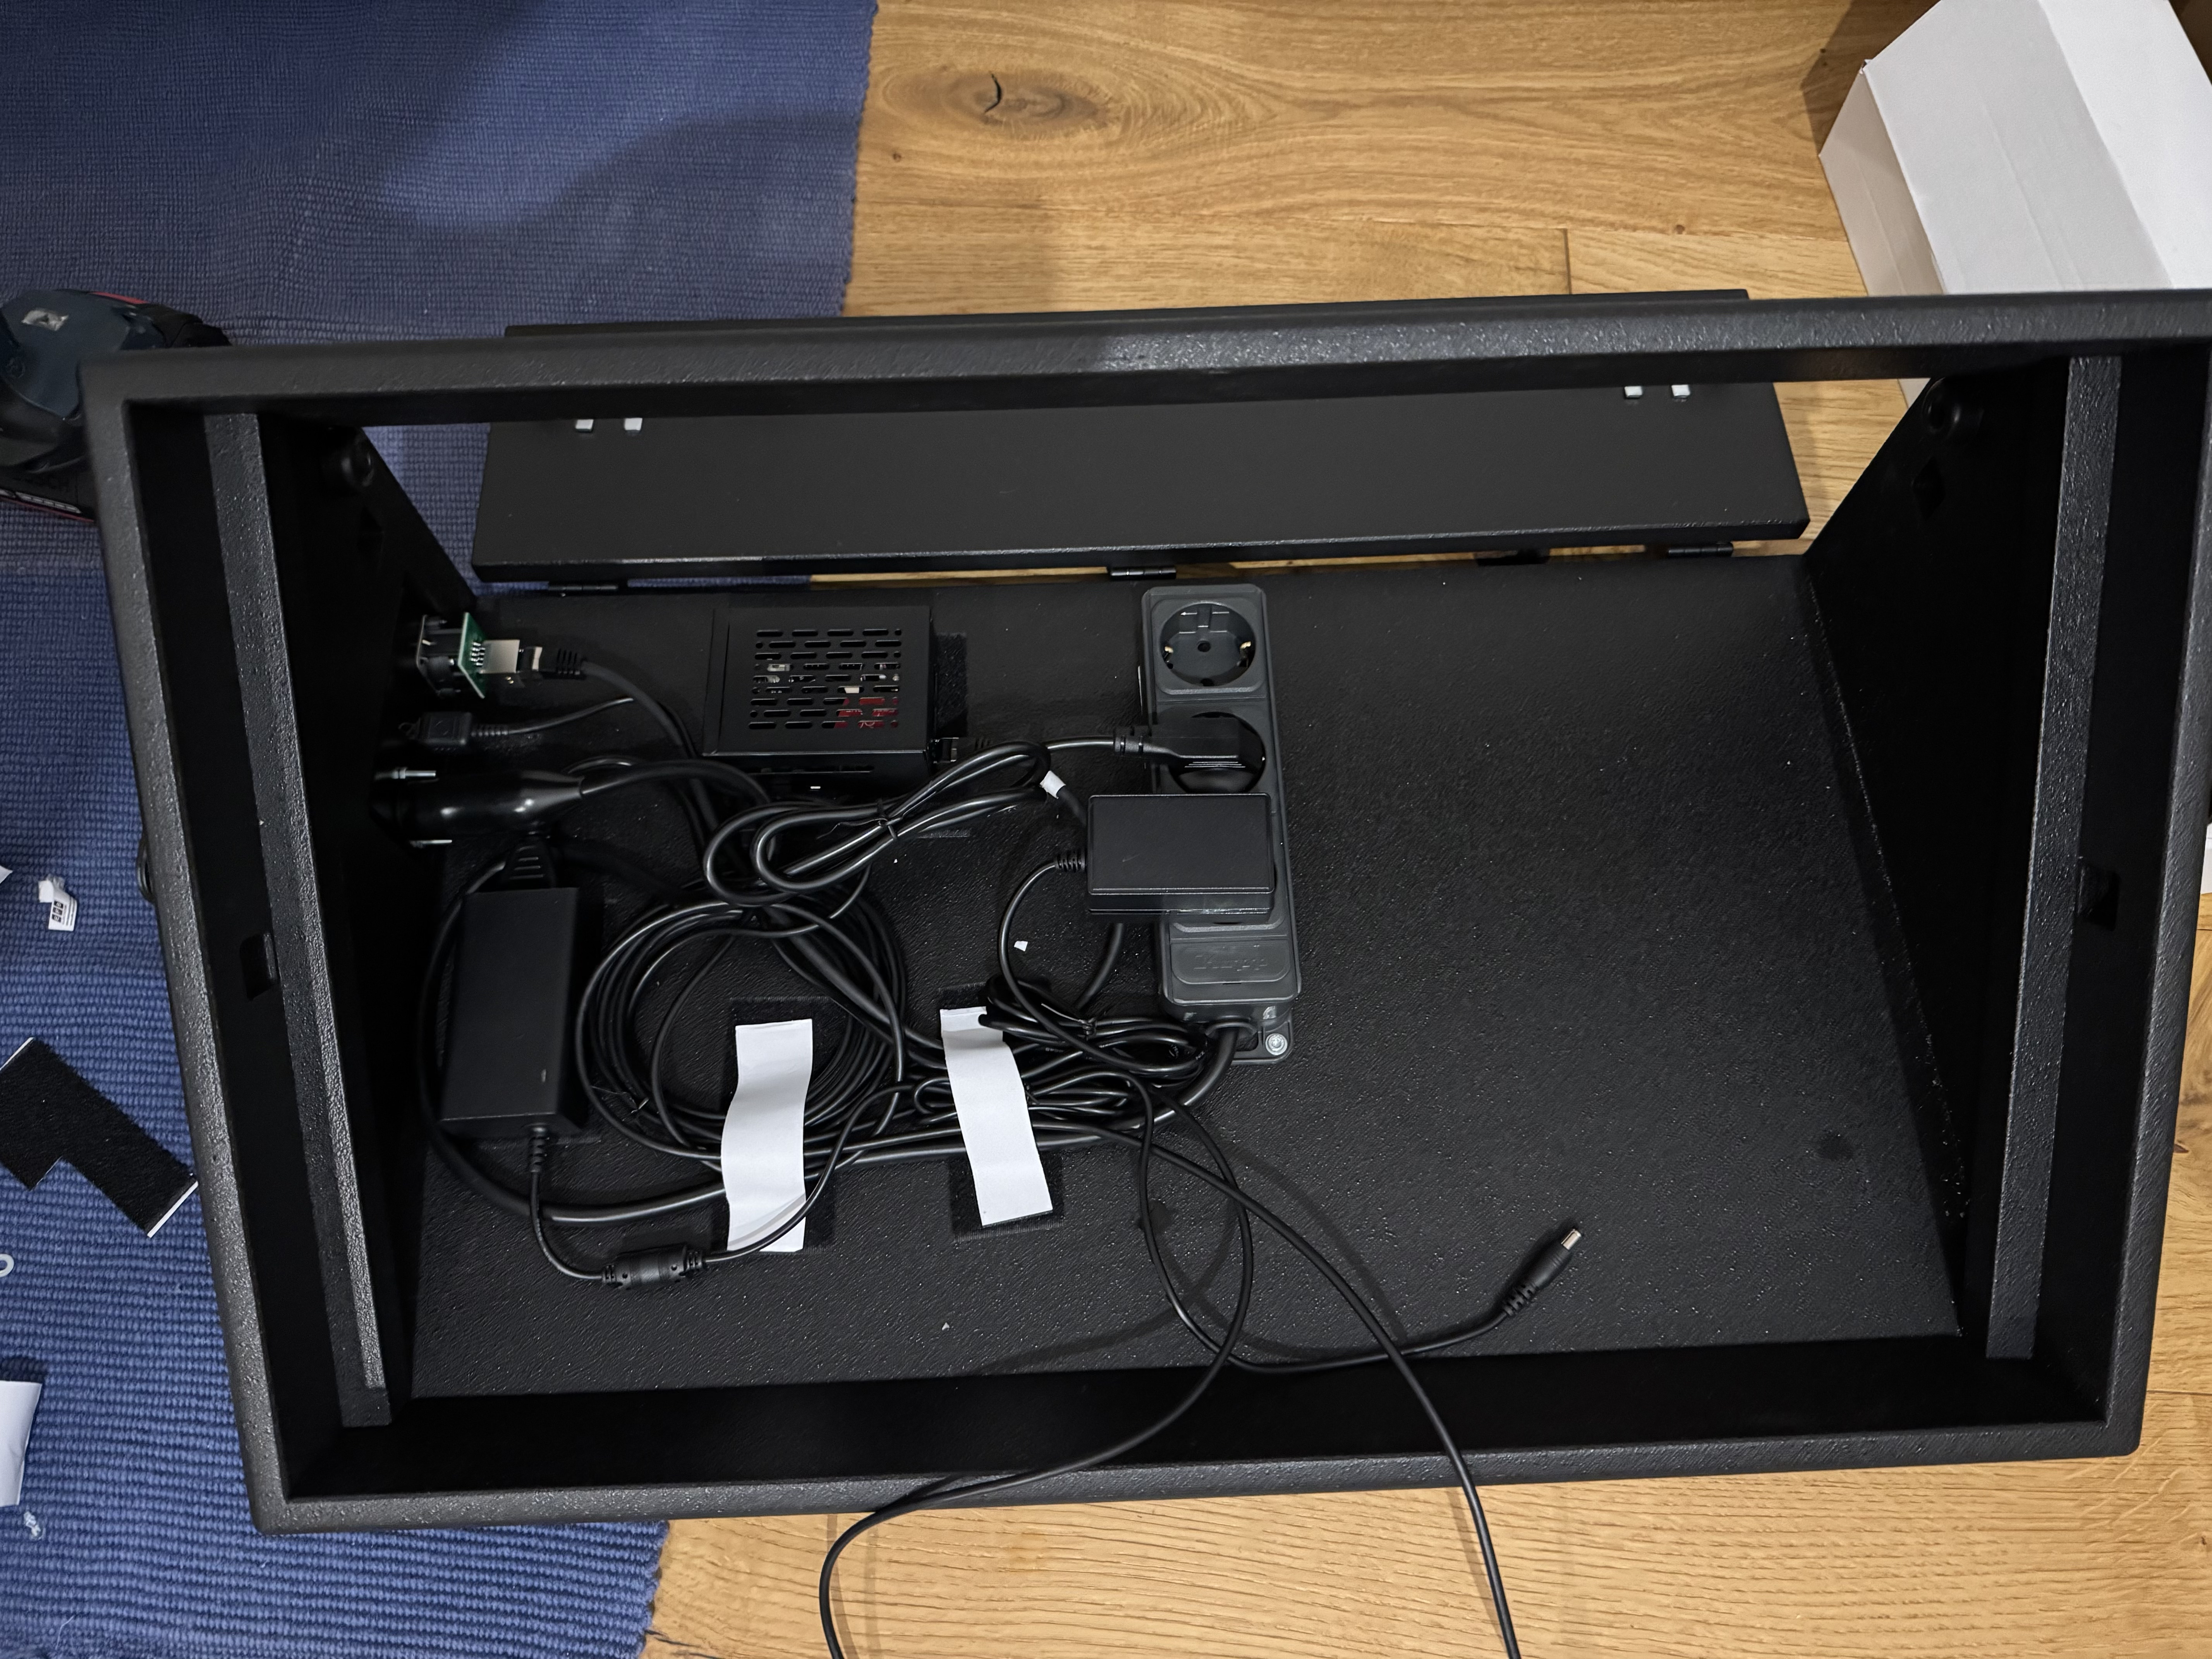
Got the wooden enclosure custom-made by Megacase to fit the screen perfectly – they did a great job. The case has a connector panel for 230V power (powertwist) and ethernet, all internally wired to the devices inside.

The main challenge: Getting the Ableset lyrics to the screen.

Solution: Raspberry Pi in Kiosk Mode. After powering on, it boots, connects to the stage network (WIFI or LAN), waits for the Ableset instance, then automatically opens the browser fullscreen to display the preconfigured lyrics canvas.

I’m no computer afficionado, but managed to configure it with help from Gemini and ChatGPT (took 2-3 evenings and some patience and frustration, not gonna lie…). I’ll post the main commands later if anybody is interested – if you’re willing to mess with terminal commands etc., and take some time and patience to work this through, you should be able to rebuild this.

Important: Ableset computer needs a fixed IP address in the stage network, otherwise the Raspberry won’t find it with the preconfigured setup. Similar: never rename the lyrics canvas after setup!

Final result: Plug-and-play lyrics display. Just plug in 230V, auto-boots to the right page. Gig done? Unplug, done. No keyboard, no mouse, nothing. Gets data via stage network – WIFI or ethernet, depending on how bulletproof you need it. Connection briefly lost during show? Immediately reconnects as soon as the network is reestablished. If you use a redundant setup with two computers via ablenet, it even switches to the second one in case the first fails (as all ableset devices do…).

Parts List:

- Screen: Beetronics 24 inch screen – sturdy metal industry screen including mounting brackets. https://www.beetronics.de/24-zoll-monitor (593,81 Euro)

- Case: custom made by www.megacase.com: multiply wooden enclosure with structured laquer. (693 Euro)

- Raspberry Pi (134 Euro)

- 3x Power socket strip (16,98 Euro)

- Power cord (25 Euro)

- Ethercon Build-In socket (9,90 Euro)

- Power Twist Socket (4,20 Euro)

- The little potentiometer on the connection panel is this dimmer potentiometer to control screen brightness. I wanted to be able to quickly adapt the screen brightness to the stage without fiddling through menues or remotes, and found this dimmer from the display manufacturer. Drilled a hole in the mounting plate, et voila - just turn the potentiometer to change the brightness. (29,75 Euro)

All in all around 1500 Euro, so not cheap at all honestly, but exeptionally functional and elegant.

2 Likes

For Raspberry configuration:

I used Gemini to let me guide through the setup - worked quite well (although I never touched a Raspberry or Terminal window before….). What I recall from that: put the main system on the SD card/SSD drive. During installation write down your own Hostname, username, Terminal access name, password etc, that’s required to access the Raspberry later via Terminal/Network.

Then first connect it to your screen and use mouse and keyboard for its first configuration (desktop Screen: black background, WIFI/network access etc. - easiest via the normal Desktop).

As soon as the Raspberry has all connections (WIFI, LAN, etc.) and basic “clean” setup, you can proceed via Terminal to do the configuration into the kiosk mode. For that you need to access your Raspberry via the Terminal (command starting with “ssh” and including the name you chose during installation; then you need to enter the password you chose during installation).

Here are the configurations that I ended up with (these block everything else except just landing on the browser screen without any notifications, error screens or similar during the show).

Autostart-configuration: access in terminal via “nano ~/.config/autostart/kiosk.desktop”

Autostart Configuration

[Desktop Entry]

Type=Application

Name=Kiosk

Exec=/home/sirwilliams/kiosk.sh

X-GNOME-Autostart-enabled=true

Kiosk-script: access via “nano ~/kiosk.sh" (you need to modify the "Ziel-URL" and "Server IP" obviously to your targets!)

Kiosk Script

#!/bin/bash

# Dem Skript sagen, auf welchem Monitor es laufen soll

export DISPLAY=:0

# Warten, bis der Desktop sicher geladen ist

sleep 6

# — KONFIGURATION —

SERVER_IP=“192.168.178.71”

ZIEL_URL=“http://$SERVER_IP/canvas/lyrics-prompter”

# PFAD ZU DEINEM BILD (hier morgen deinen echten Pfad eintragen)

LOGO_PFAD=“/home/sirwilliams/Pictures/dein-logo.jpg”

# ---------------------

# Maus ausblenden nach 0.5 Sekunden Inaktivität

unclutter-xfixes -idle 0.5 -root &

# Bildschirmschoner und Energiesparen deaktivieren

xset s noblank

xset s off

xset -dpms

# Benachrichtigungs-Dienst stoppen

killall lxplug-notification 2>/dev/null

# — DER START-CHECK —

echo “Warte auf Webseite…”

until wget -q --spider “$ZIEL_URL”; do

sleep 1

done

echo “Webseite ist da! Starte Browser…”

# Chromium im Kiosk Modus starten

chromium \

**--noerrdialogs** \\

**--disable-infobars** \\

**--kiosk** \\

**--incognito** \\

**--disable-restore-session-state** \\

**--password-store**=basic \\

**--check-for-update-interval**=31536000 \\

**--ignore-gpu-blocklist** \\

**--enable-gpu-rasterization** \\

**--enable-zero-copy** \\

**--force-dark-mode** \\

**--enable-native-gpu-memory-buffers** \\

**--enable-features**=WebUIDarkMode,WebContentsForceDark,Translate,OverscrollHistoryNavigation \\

**--background-color**=**"#000000"** \\

**"$ZIEL_URL"**

Different commands: access in terminal via “sudo nano /boot/firmware/cmdline.txt” (needs to be one continuous line!)

Command line

overlayroot=tmpfs console=serial0,115200 console=tty3 root=PARTUUID=9ffc8271-02 rootfstype=ext4 fsck.repair=yes rootwait plymouth.ignore-serial-consoles quiet loglevel=0 vt.global_cursor_default=0 logo.nologo plymouth.enable=0 cfg80211.ieee80211_regdom=DE systemd.mask=raspi-config.service

When you are finally done and everything is working smoothly, you can put it into a kind of “safe mode”, so disk is write protected and therefore tolerates hard power unplugging better. That (and a lot of other things) can be done via terminal using sudo raspi-config .

Just ask Gemini for the best configuration parameters for this use case “Kiosk Mode” - it will guide you through :slight_smile:

2 Likes

That looks awesome, thank you for sharing!

Great idea! Thanks for showing the process.

My budget is a bit tighter… I’ve already built the wooden box by hand and I have a computer monitor. Right now we send the HDMI signal through HDMI-to-RJ45 connectors, but they fail with even the slightest movement, so I want to change the system.

The Raspberry sounds good to me, but I’d also like to look into other, more affordable options. Does anyone know if a Fire Stick or an Android TV device would work well?

And speaking of the Raspberry, would the 1 GB version be enough to display lyrics or canva’s without any issues?

Thanks!

Any fairly modern Android device that can run a browser should work for this, though I haven’t tried this myself yet :slight_smile:

1 Like